

Friday, April 21, 2017
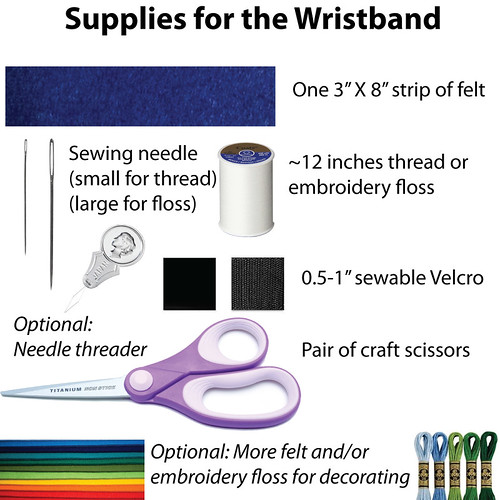
Supplies for the Felt Wristband
3" X 8" felt strip, sewing thread (can use embroidery floss, but it gets stuck in the Velcro), sewing needle, (optional) needle threader, 0.5-1in sewable velcro, and craft scissors.
Extra scraps of felt or embroidery thread for decorating.
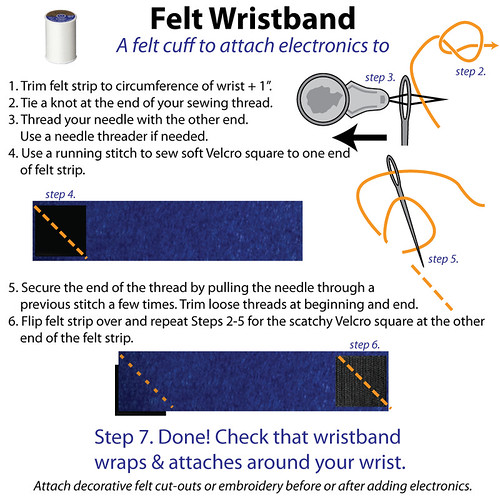
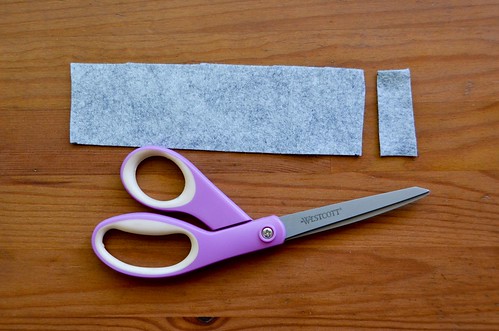
- Trim felt strip to circumference of wrist plus one inch
If you're putting your electronics inside your wristband, you might need to make the wristband a little longer. If the battery holder is going on the outside, then an inch should be plenty (i.e., the width of your Velcro).
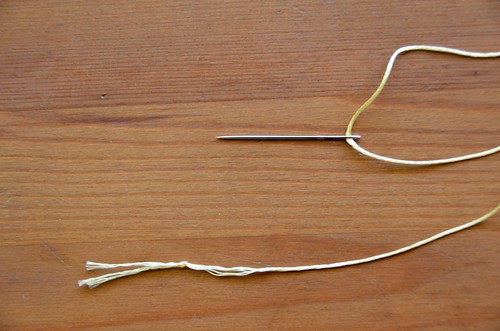
- Knot the end of the thread and thread your needle with the other end.
There's a BYOV Tutorial on knotting a thread and threading a needle.
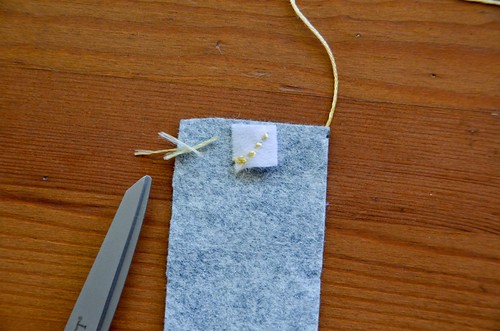
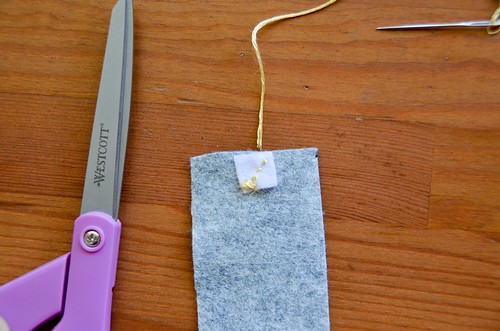
- (Not Shown) Push needle from back of Velcro square to front.
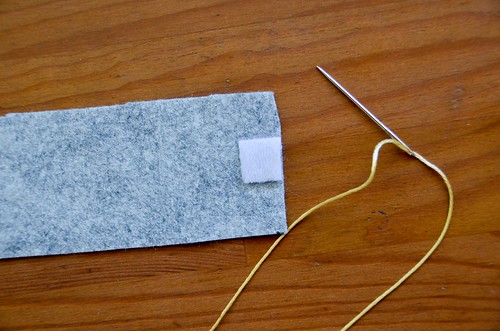
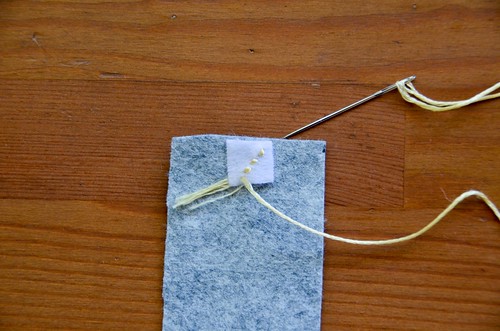
- Place Velcro square on felt strip, use running stitch to secure Velcro to felt.
A running or straight stitch can be used to connect the connecting points of several electronic components. It's the basic process where the thread comes up through fabric, then down, then up, down, etc. ApartmentTherapy has a tutorial on this stitch and others, here: www.apartmenttherapy.com/how-to-sew-basic-stitches-221433. I sometimes like to make smaller stitched on one side of the fabric, so they aren't quite as visible. If I don't care about looks, I'll often pick up several stitches at once to save the time of individually creating each stitch.
- Secure thread end with backstitch or through previous stitches
I usually secure the end of threads by pulling the needle through several previous stitches, or sometimes backstitching. This is necessary to prevent all your work from unraveling! this tutorial describes some options.
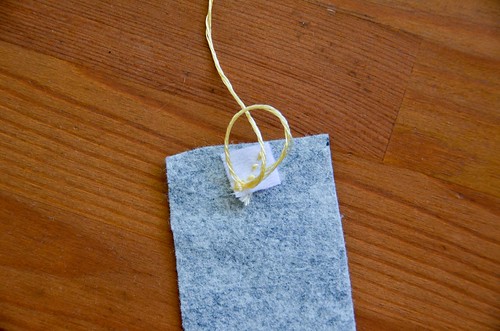
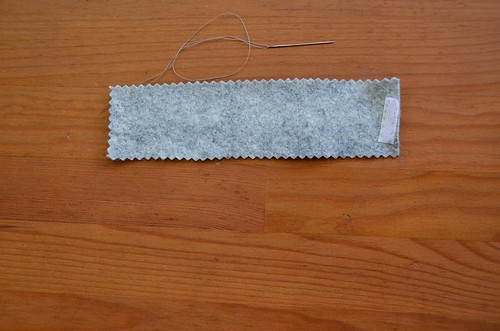
- Trim thread ends.
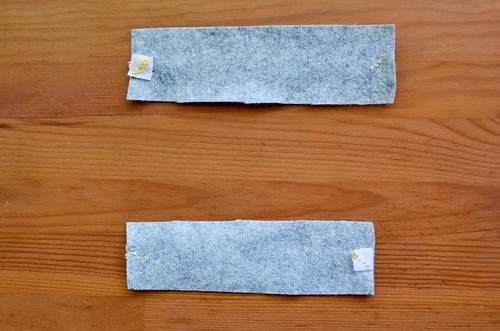
- Flip felt over. Other side of Velcro will be at opposite end of first side.
- Flip felt strip over & reknot end of thread.
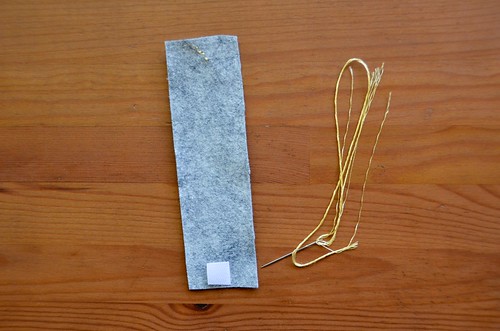
It's easier to use sewing thread (not embroidery floss) when sewing the prickly-Velcro.
- Repeat steps 2-6 for other half of Velcro, on the other end of the felt strip
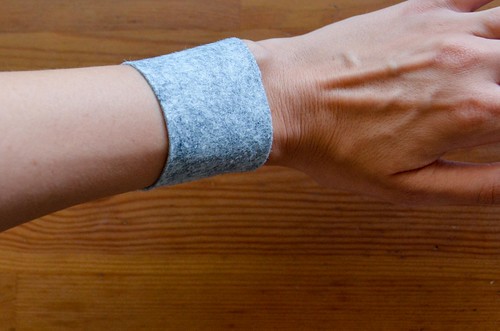
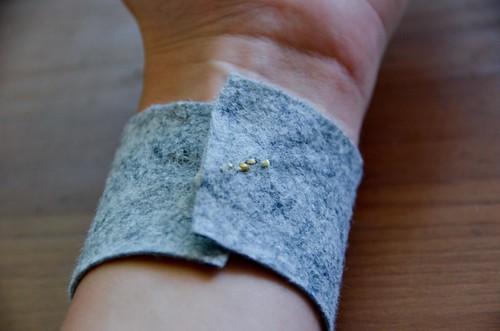
- Done!


0 comments:
Post a Comment