

Wednesday, May 10, 2017
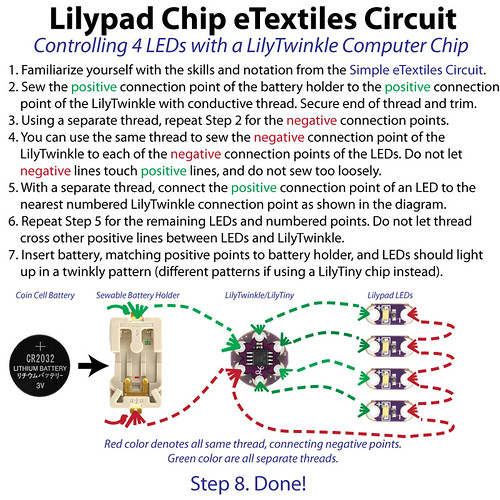
The diagram included in the tutorial below shows what I'm talking about with the positive/negative threads.
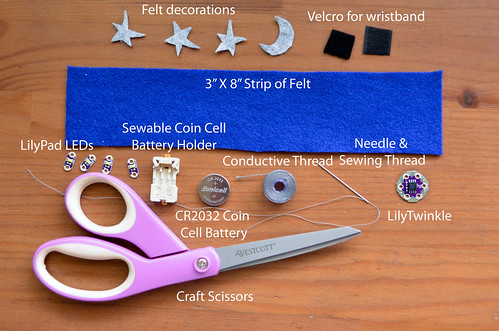
Supplies for Four Twinkling Lights Wristband
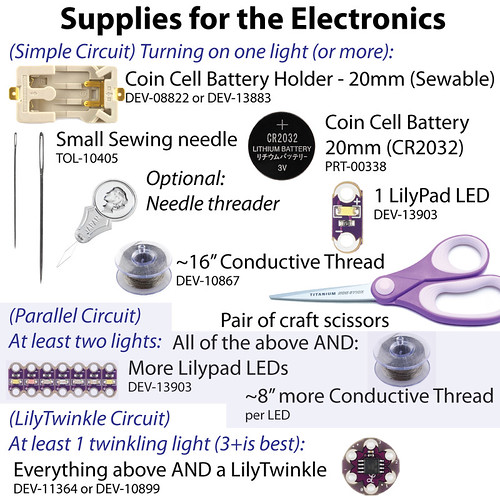
As always, SparkFun.com is a great source for most of your supplies.
- 1 CR2032 Coin Cell Battery (PRT-00338)
- 1 sewable battery holder (DEV-08822 or DEV-13883)
- 4 Lilypad LEDs (DEV-13903)
- 1 LilyTwinkle or 1 LilyTiny - they have different sparkling behaviors (DEV113-64 or DEV-10899)
- ~1 yard+ conductive thread - actual number depends on how far apart all your components are! (DEV-10867)
- 1 sewing needle (small enough to fit through the connection point/hole) (TOL-10405)
- craft scissors
- felt wristband (or textile of some sort).
Before we begin...
It's usually wise to prototype your electronic circuit design using paper first: http://byov.blogspot.com/2017/04/etextiles-paper-prototype-before-you-do.html. Just cut out the pieces you'll be using from the paper (i.e., a battery holder, 1-4 LEDs, and 1 LilyTiny/LilyTwinkle), tape them down onto a piece of paper that resembles the necessary circuit layout, and then draw lines connecting the positive connection points. And then a line connecting the negative connection points. These represent two separate pieces of thread, and remember, they should not intersect!
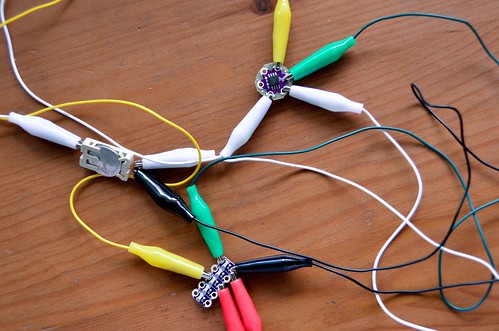
I like to test out my designs with alligator clips first, so I can ensure that all the pieces are working as they should. Below, I'm trying out two LEDs and a LilyTiny chip. Once I got rid of the dead battery, it worked!
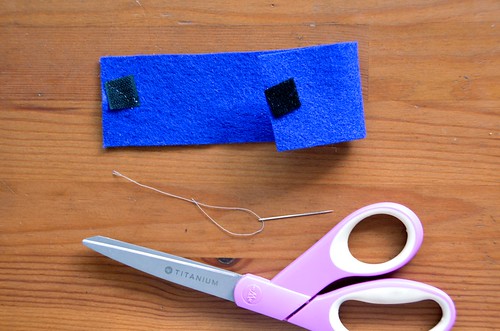
- Make your felt wristband / whatever textile you're sewing to
If components (i.e. battery holder) are going on the inside of the wristband, you'll want a little extra length. Maybe an extra 0.75" or 1" extra to accommodate the size of the battery holder. I also find that using sewing thread, rather than embroidery floss, makes it easier to sew Velcro to the felt.
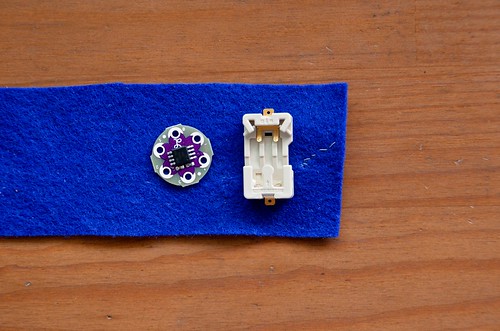
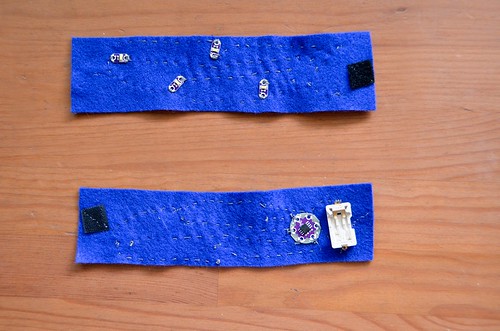
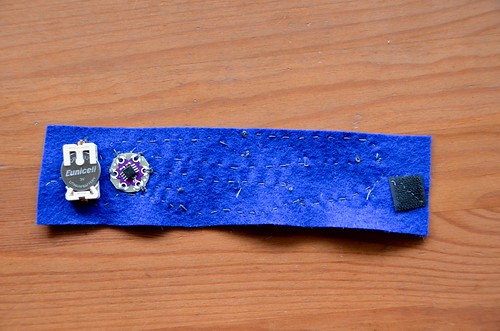
- Figure out approximate placement of battery holder and LilyTwinkle (I'm putting mine on the back of the wristband)
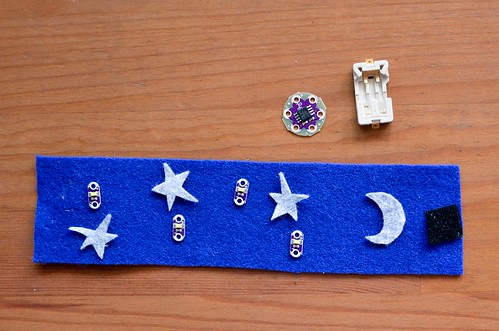
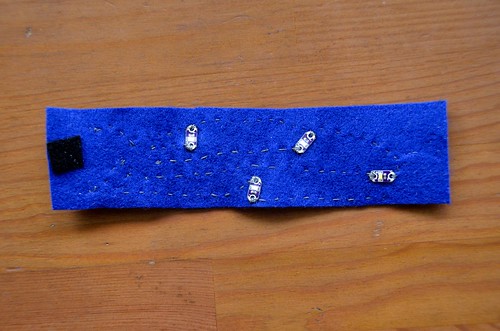
- Figure out approximate placement of the LEDs (subtly mark their spots with a marker)
- Follow diagram to connect appropriate points.
- Using 4-5 overcast stitches to secure each connection point, sew a running stitch from the positive connector of the battery holder to the positive connection point of the LilyTwinkle. Secure and trim threads.
- Do the same for the negative points of the battery holder and LilyTwinkle, but instead of trimming thread, continue to connect all 4 of the negative sides of the 4 LEDs with the same thread. Trim threads after all 6 components' negative connection points are connected via running stitch and overcast stitches.
- Connect each positive side of each of the 4 LEDs to one of the numbered points on the LilyTwinkle. Do not sew these threads across any other threads! Each of these lines needs to be cut & trimmed in between connecting another LED.
- Using 4-5 overcast stitches to secure each connection point, sew a running stitch from the positive connector of the battery holder to the positive connection point of the LilyTwinkle. Secure and trim threads.
- Insert battery, matching positive end to positive side of holder. Lights should twinkle on an off.
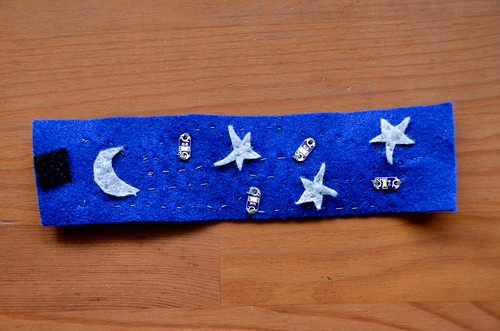
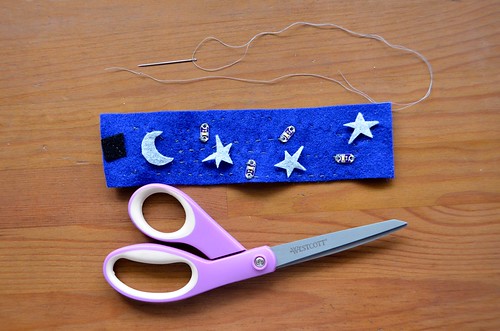
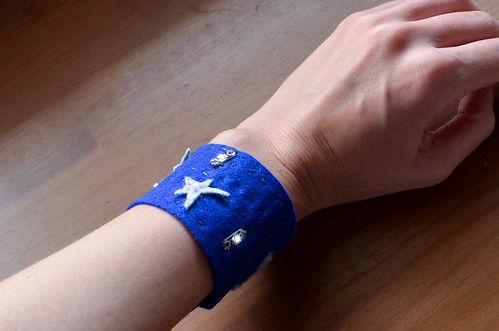
- Remove battery before attaching wristband decorations with non-conductive sewing thread.
I used stars and a moon. Maybe you could do flowers? Or an Xmas tree or Menorah?
- Done!


0 comments:
Post a Comment